Application Builder
Scale Generative AI Platform provides the ability for users to create fully executable applications directly within the platform. The application builder is a simple drag and drop interface that enables both technical and non-technical users to create an application inside the platform. All applications have different variants that...
Getting Started
-
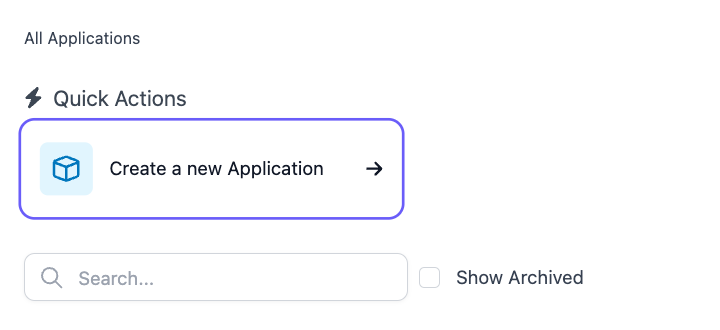
In order to create an application inside Scale Generative AI Platform, navigate to the Applications page and click on Create a new Application.

-
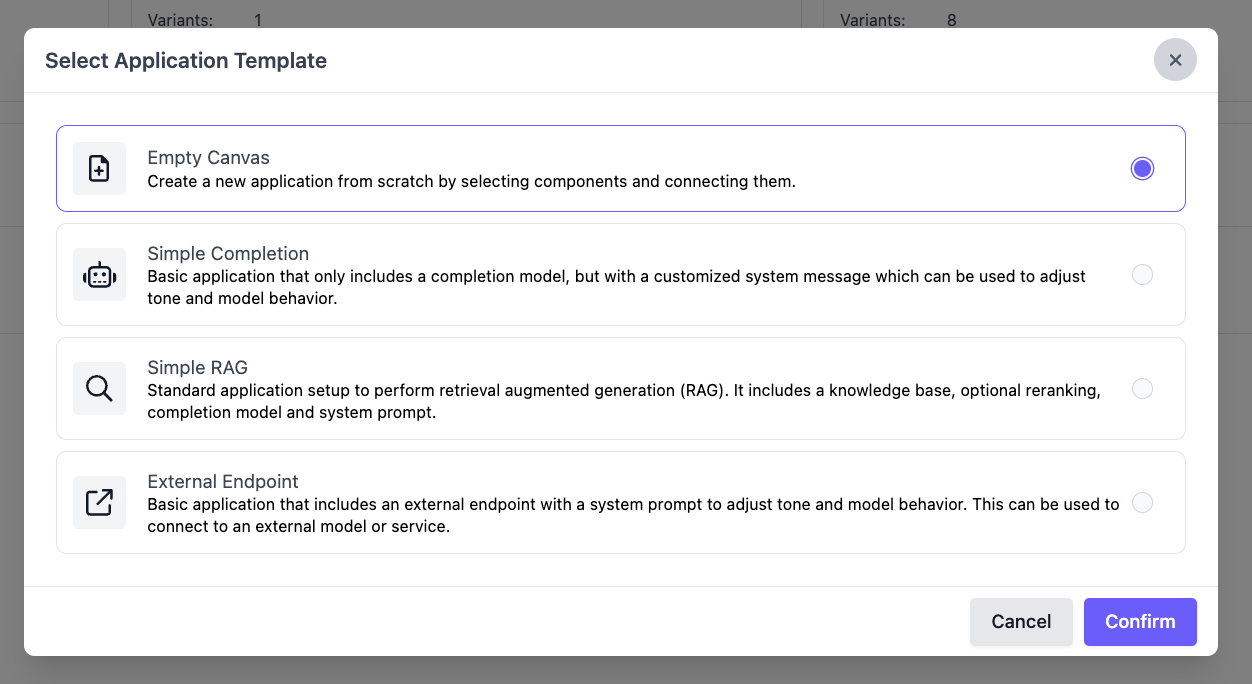
This will open up a modal where users can select an existing application template, create an application from scratch, or create an application based on an external endpoint.

Application Builder Interface
Existing Templates
The platform enables users to select from four different types of applications. All of these templates are starter designs and can be modified in the application builder. For more information about each application type, refer to the Templates section.
Adding a New Node
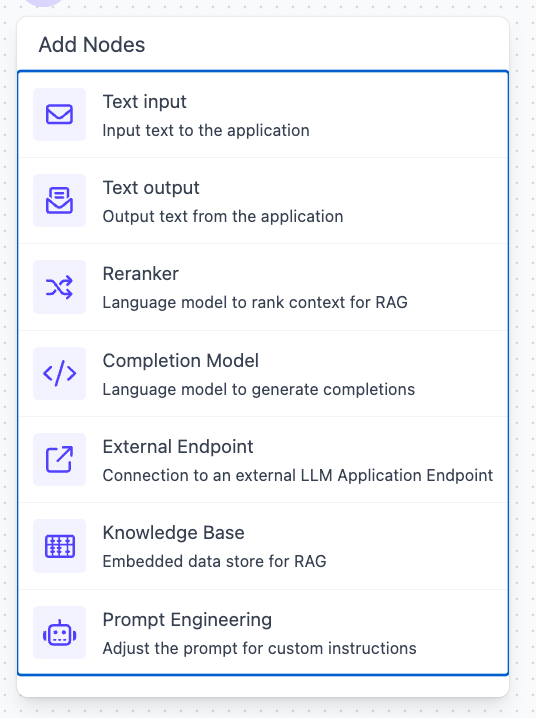
There are seven different types of node that you can add to application.

Text Input
This is an input field of the application. When a user interacts with the application, this is what they would type into the application. This input can be connected to any of the other nodes (Text output, Knowledge Base, Reranker, Prompt Engineering, Completion Model, External Endpoint). For a complete application, any inputs must be connected to another node.
Text output
This is the output field of the application. When a user interacts with the application, this is what the application will return to the user. The output must have text that is connected to it. The output text can come from any of the other nodes. There is also an option to output the context of the text output to this node as well. The context can come from an External Endpoint, Knowledge Base, or a Reranker.
Reranker
Reranking is a step in the retrieval process where the initially retrieved results are further sorted, refined, or reordered based on certain criteria to improve their relevance or accuracy.
The reranker node takes in a prompt and chunks (data), and then returns the ranks of relevancy between the prompt and data. The reranker takes in a prompt that can be either from a Text Input Node or a query from a Knowledge Base, and also chunks from either an External Endpoint, another Reranker, or a Knowledge Base.
The user also has to select the reranking model to be used and the value of k, or the number of chunks to to be returned.
Completion Model
Completion models are models that generate text based on a given prompt. The prompt from this node should come from either a Prompt Engineering Schema or a Text Input. The text that comes out of this node can either be connected to a Text Output (most common, ) or used as a prompt for the Reranker, Knowledge Base, Prompt Engineering Schema, External Endpoint, or another Completion Model.
For advanced configurations, you can also choose to adjust the following parameters that are fed into the completion model:
- Temperature (randomness)
- Max Tokens (maximum number of tokens generated in a single call to the model)
- System prompt (special messages to steer the behavior of the model)
External Endpoint
If you already have an existing endpoint from another application that can take in a prompt and return a text response and context, you can utilize the external endpoint node to connect your application to that endpoint. You will have to provide an endpoint url and API key (if authorization is required). The endpoint must take in a prompt and return a response and the context.
Knowledge Base
For creating RAG applications, the Knowledge Base node enables you to connect an existing knowledge base to your application. This node requires you to provide a query for retrieving data from the Knowledge Base, and also to configure the number of chunks you would like to retrieve, the Top K value. This node will return chunks of data that can either be fed into a Reranker, a Prompt Engineering Schema, or a Text Output.
Prompt Engineering Schema
For scenarios where you want a more advanced prompt configuration, you can use the Prompt Engineering Schema node to modify and format your prompt before sending it to a completion model. For example, if you want to configure a chat application that takes in the context of the chat history and the knowledge base, you can modify the prompt to say:
You are a copilot tasked with responding to the user query below to the best of your ability. Please draw only from the provided context and chat history in your responses, and avoid using your internal knowledge if possible. If the query is a follow-up question, rely primarily or solely on the chat history. If you cannot provide an answer, please refrain from doing so. Avoid making unfounded assertions and do not hallucinate. Use GitHub-flavored markdown where needed.
User query:
{{query}}Context:
{{#chunks}}
{{.}}
{{/chunks}}
This node supports utilizing variables for {{query}} and {{chunks}} with Mustache templates to include in the prompt. For more information, see the Mustache Html documentation here.
Testing the Application
The application interface will warn you if you create an application that is missing inputs, outputs, or configurations. After you have configured a complete application, you can utilize the Test App button to test out your application directly in the platform. This will enable you to make adjustments before creating the application.
Please note, we currently don't support drafts, so if you navigate away from the Application builder before an application is created, you will lose the work that you have done.
Creating the Application
Once you are happy with the behavior of the application, you can save the application by clicking the Create button.
Please note, if you are creating a new application, this iteration that you create will be the first variant of the application. Once you create an application variant, you will no longer be able to modify it. However, you can always create another variant of the application that is based on an existing variant if you want to make modifications to the application.
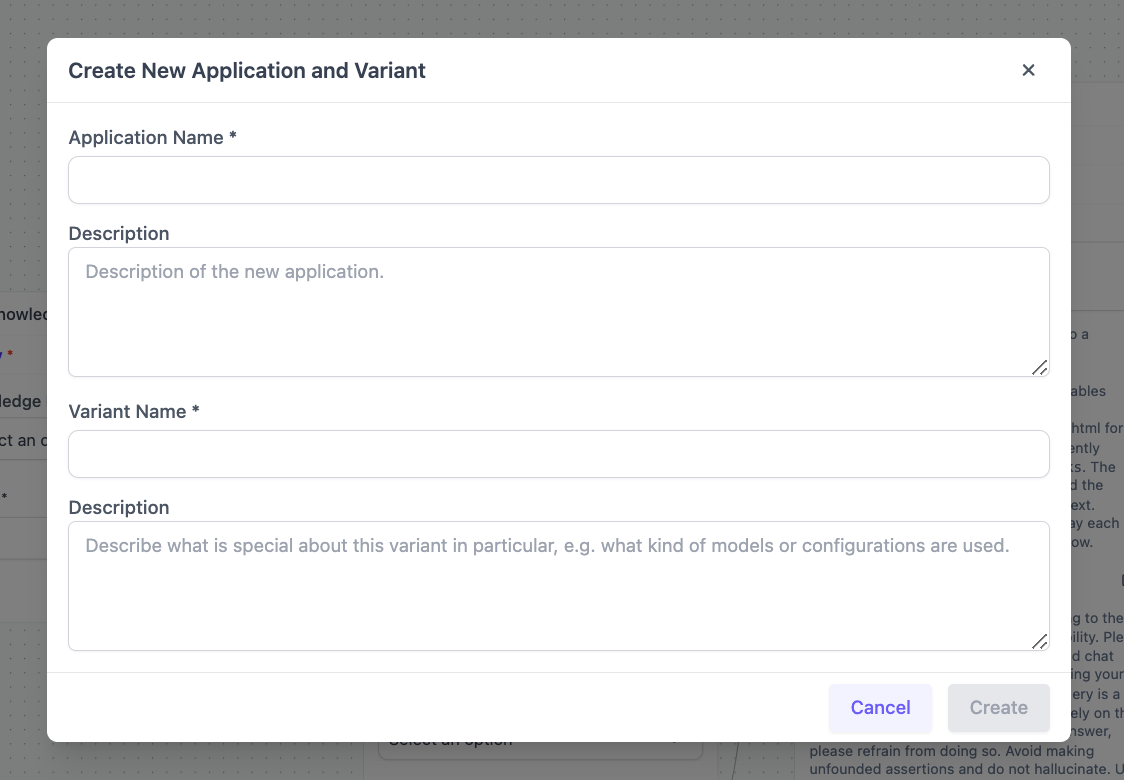
In order to create a variant for this new application, you must select an Application Name and Variant Name.

Updated over 1 year ago